
Make sure all parts are included. Use the table below to take inventory.
Make sure your rifle is unloaded and safe before continuing.
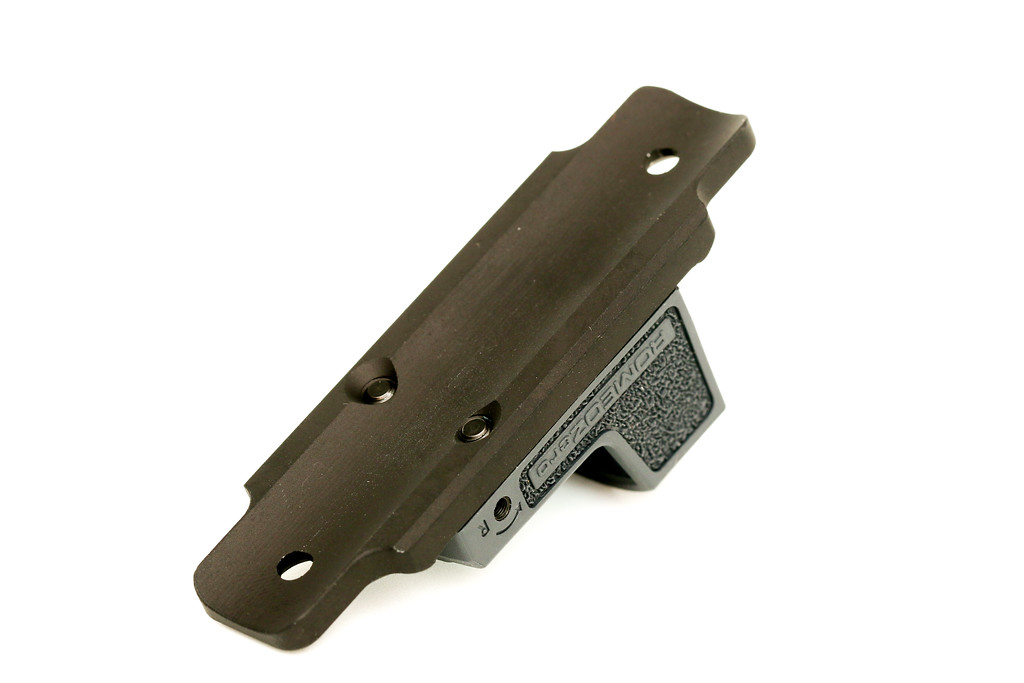
Install your optic onto the mount. Use the table below for torque values, make sure not to exceed those values! Then make sure the screws do not protrude below the bottom of the mount, as shown in the picture below (Mk. iii/iv mount shown for reference only).
Install your optic and mount onto your rifle. Do not exceed 7 in-lbs!
Perform a function check and make sure the rifle is safe to fire.
| Optics footprint | Inventory | Optic Screw Torque Value |
| Aimpoint Acro | Optics mount 2x mount mounting screws (6-48 flat head, torx drive screws) | See optic manufacturers instructions |
| Aimpoint Micro | Optics mount 2x mount mounting screws (6-48 flat head, torx drive screws) 4x M3 mount mounting screws | Included M3 screws: 5 in-lbs |
| Docter | Optics mount 2x 6-32 mounting screws 2x mount mounting screws (6-48 flat head, torx drive screws) | Included 6-32 screws: 6.5 in-lbs |
| Shield | Optics mount 2x M3 mounting screws 2x mount mounting screws (6-48 flat head, torx drive screws) | Included M3 screws: 4.5 in-lbs |
| RMR | Optics mount 2x mount mounting screws (6-48 flat head, torx drive screws) | 6-32 screws that came with your optic: 6.5 in-lbs |
| Deltapoint Pro | Optics mount 2x mount mounting screws (6-48 flat head, torx drive screws) | M4 screws that came with your optic: 6 in-lbs |
| Holosun HS510C | Optics mount 2x mount mounting screws (6-48 flat head, torx drive screws) | Socket cap screws that came with your optic: 7 in-lbs |
| Holosun 509 | Optics mount 2x mount mounting screws (6-48 flat head, torx drive screws) | See optic manufacturers instructions |