
Make sure all parts are included. Use the table below to take inventory. If the inventory does not include screws to attach your optic to the mount, please use the screws that came with your optic.
Make sure your pistol is unloaded and safe before continuing.
Install your optic onto the mount. Use the table below for torque values, make sure not to exceed those values! Then make sure the screws do not protrude below the bottom of the mount, as shown in the picture below (Mk. iii/iv mount shown for illustrative purposes only).
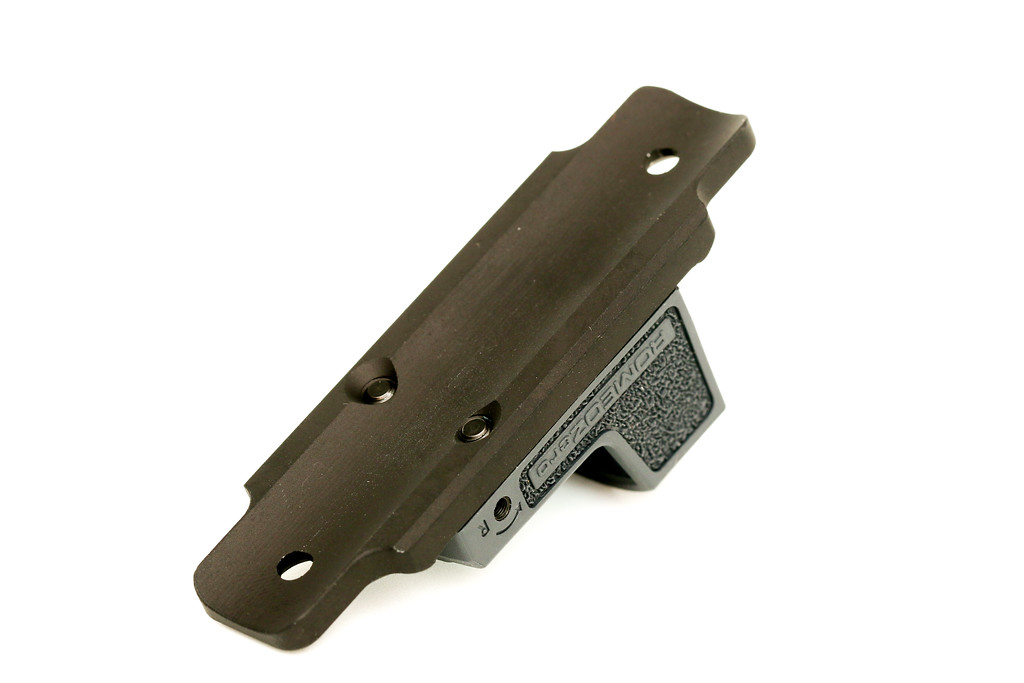
Install your optic and mount onto your pistol using the included torx drive screws.Do not exceed 7 in-lbs!
Perform a function check and make sure the pistol is safe to fire.
| Optics footprint | Inventory | Optic Screw Torque Value |
| Shield | – Optics mount – 2x M3 mounting screws – 2x mount mounting screws (6-48 flat head, torx drive screws) – NOTE: These screws are being replaced by longer slot head screws going forward | Included M3 screws: 4.5 in-lbs |
| RMR | – Optics mount – 2x mount mounting screws (6-48 flat head, torx drive screws) – NOTE: These screws are being replaced by longer slot head screws going forward | 6-32 screws that came with your optic: 6.5 in-lbs |
| Deltapoint Pro | – Optics mount – 2x mount mounting screws (6-48 flat head, torx drive screws) – NOTE: These screws are being replaced by longer slot head screws going forward | M4 screws that came with your optic: 6 in-lbs |